Buffet Layout & Food Presentation Tips
The Complete Guide to Creating Stunning Buffet Displays That Wow Your Guests
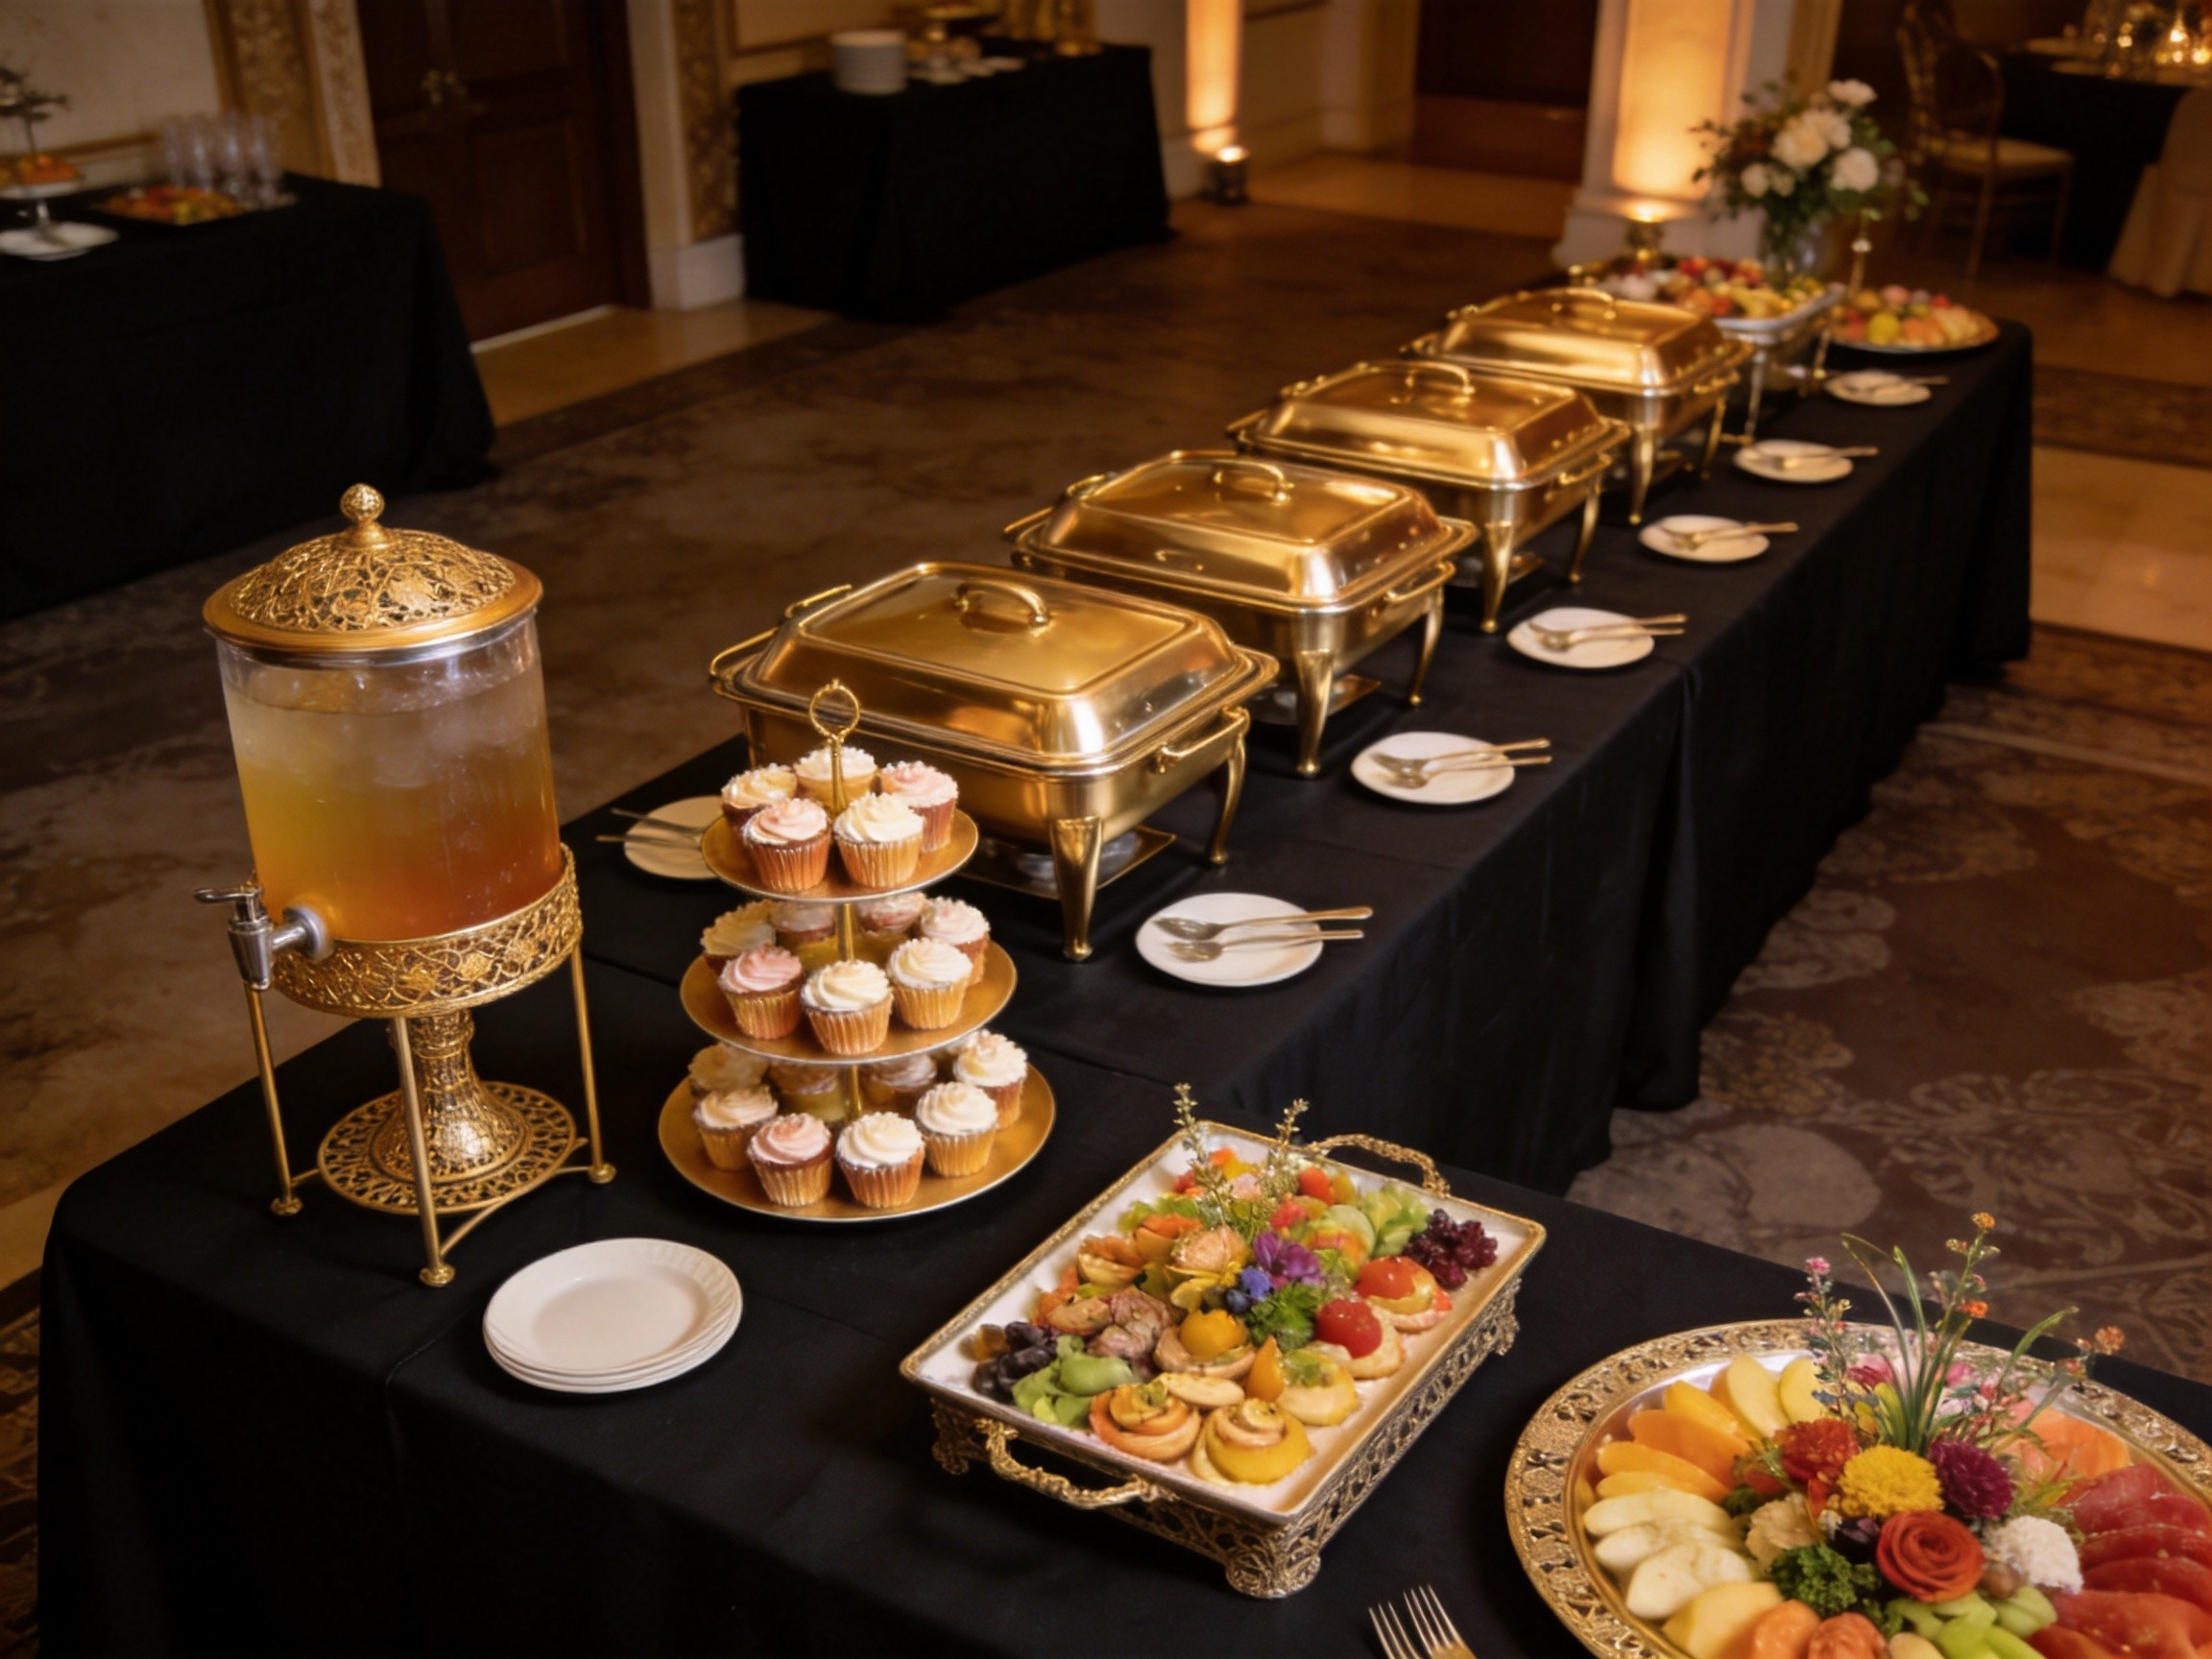
Why Buffet Layout Matters
A great buffet isn’t just about the food — it’s about how you present it. The right layout keeps guests moving smoothly, prevents bottlenecks, and turns an ordinary spread into a visual centerpiece. Whether you’re hosting a wedding reception, holiday dinner, or weekend garden party, thoughtful buffet design makes your event feel polished and professional.
In this guide, we’ll walk you through everything you need to know: from station planning and guest flow to tiered displays, color coordination, and outdoor-specific considerations. Let’s build a buffet your guests will remember — and photograph.
The 5 Essential Buffet Stations
Every well-organized buffet breaks down into distinct stations. This isn’t just aesthetic — it’s functional. Clear stations help guests find what they want quickly, reduce cross-traffic, and make replenishing dishes easier for you.

1. Main Course Station
This is the heart of your buffet. Place it at the center or far end of the table — guests should reach the mains after they’ve picked up plates and lighter items.
- Use chafing dishes to keep hot entrees at safe serving temperatures (above 140°F / 60°C)
- Group proteins (roasted meats, poultry) together, then starches and vegetables
- Leave 8–10 inches between dishes for comfortable serving access
- Place serving utensils on the right side of each dish (right-handed convention)
💡 Pro Tip: For larger events (30+ guests), set up two identical main course stations on opposite sides of the table to double throughput. Our 4-Pack Gold Round Chafing Dishes (5 QT) or the 4-Pack Stainless Steel Set (9 QT) give you exactly the coverage you need for dual-station setups.
2. Cold Food & Salad Station
Position cold items near the beginning of the buffet line — guests can assemble salads and cold appetizers while hot dishes continue warming.
- Use freezable cooling mats under cold platters to keep salads, charcuterie, and fruit fresh for hours
- Elevate some plates on risers for visual interest — flat lines of food look monotonous
- Group by type: greens, dressings, toppings, cold proteins
- Keep dressings in small separate bowls to prevent wilting
3. Beverage Station
Always separate the beverage station from the food line. Nothing creates a bottleneck faster than guests trying to pour drinks while others reach for plates.
- Set up drinks on a separate table or at the end of the buffet
- Use an elevated 3-Gallon Beverage Dispenser with Stand for self-service — the stand elevates the spigot for easy pouring
- Provide both hot and cold options when possible
- Stack cups near the dispenser, not at the food line start
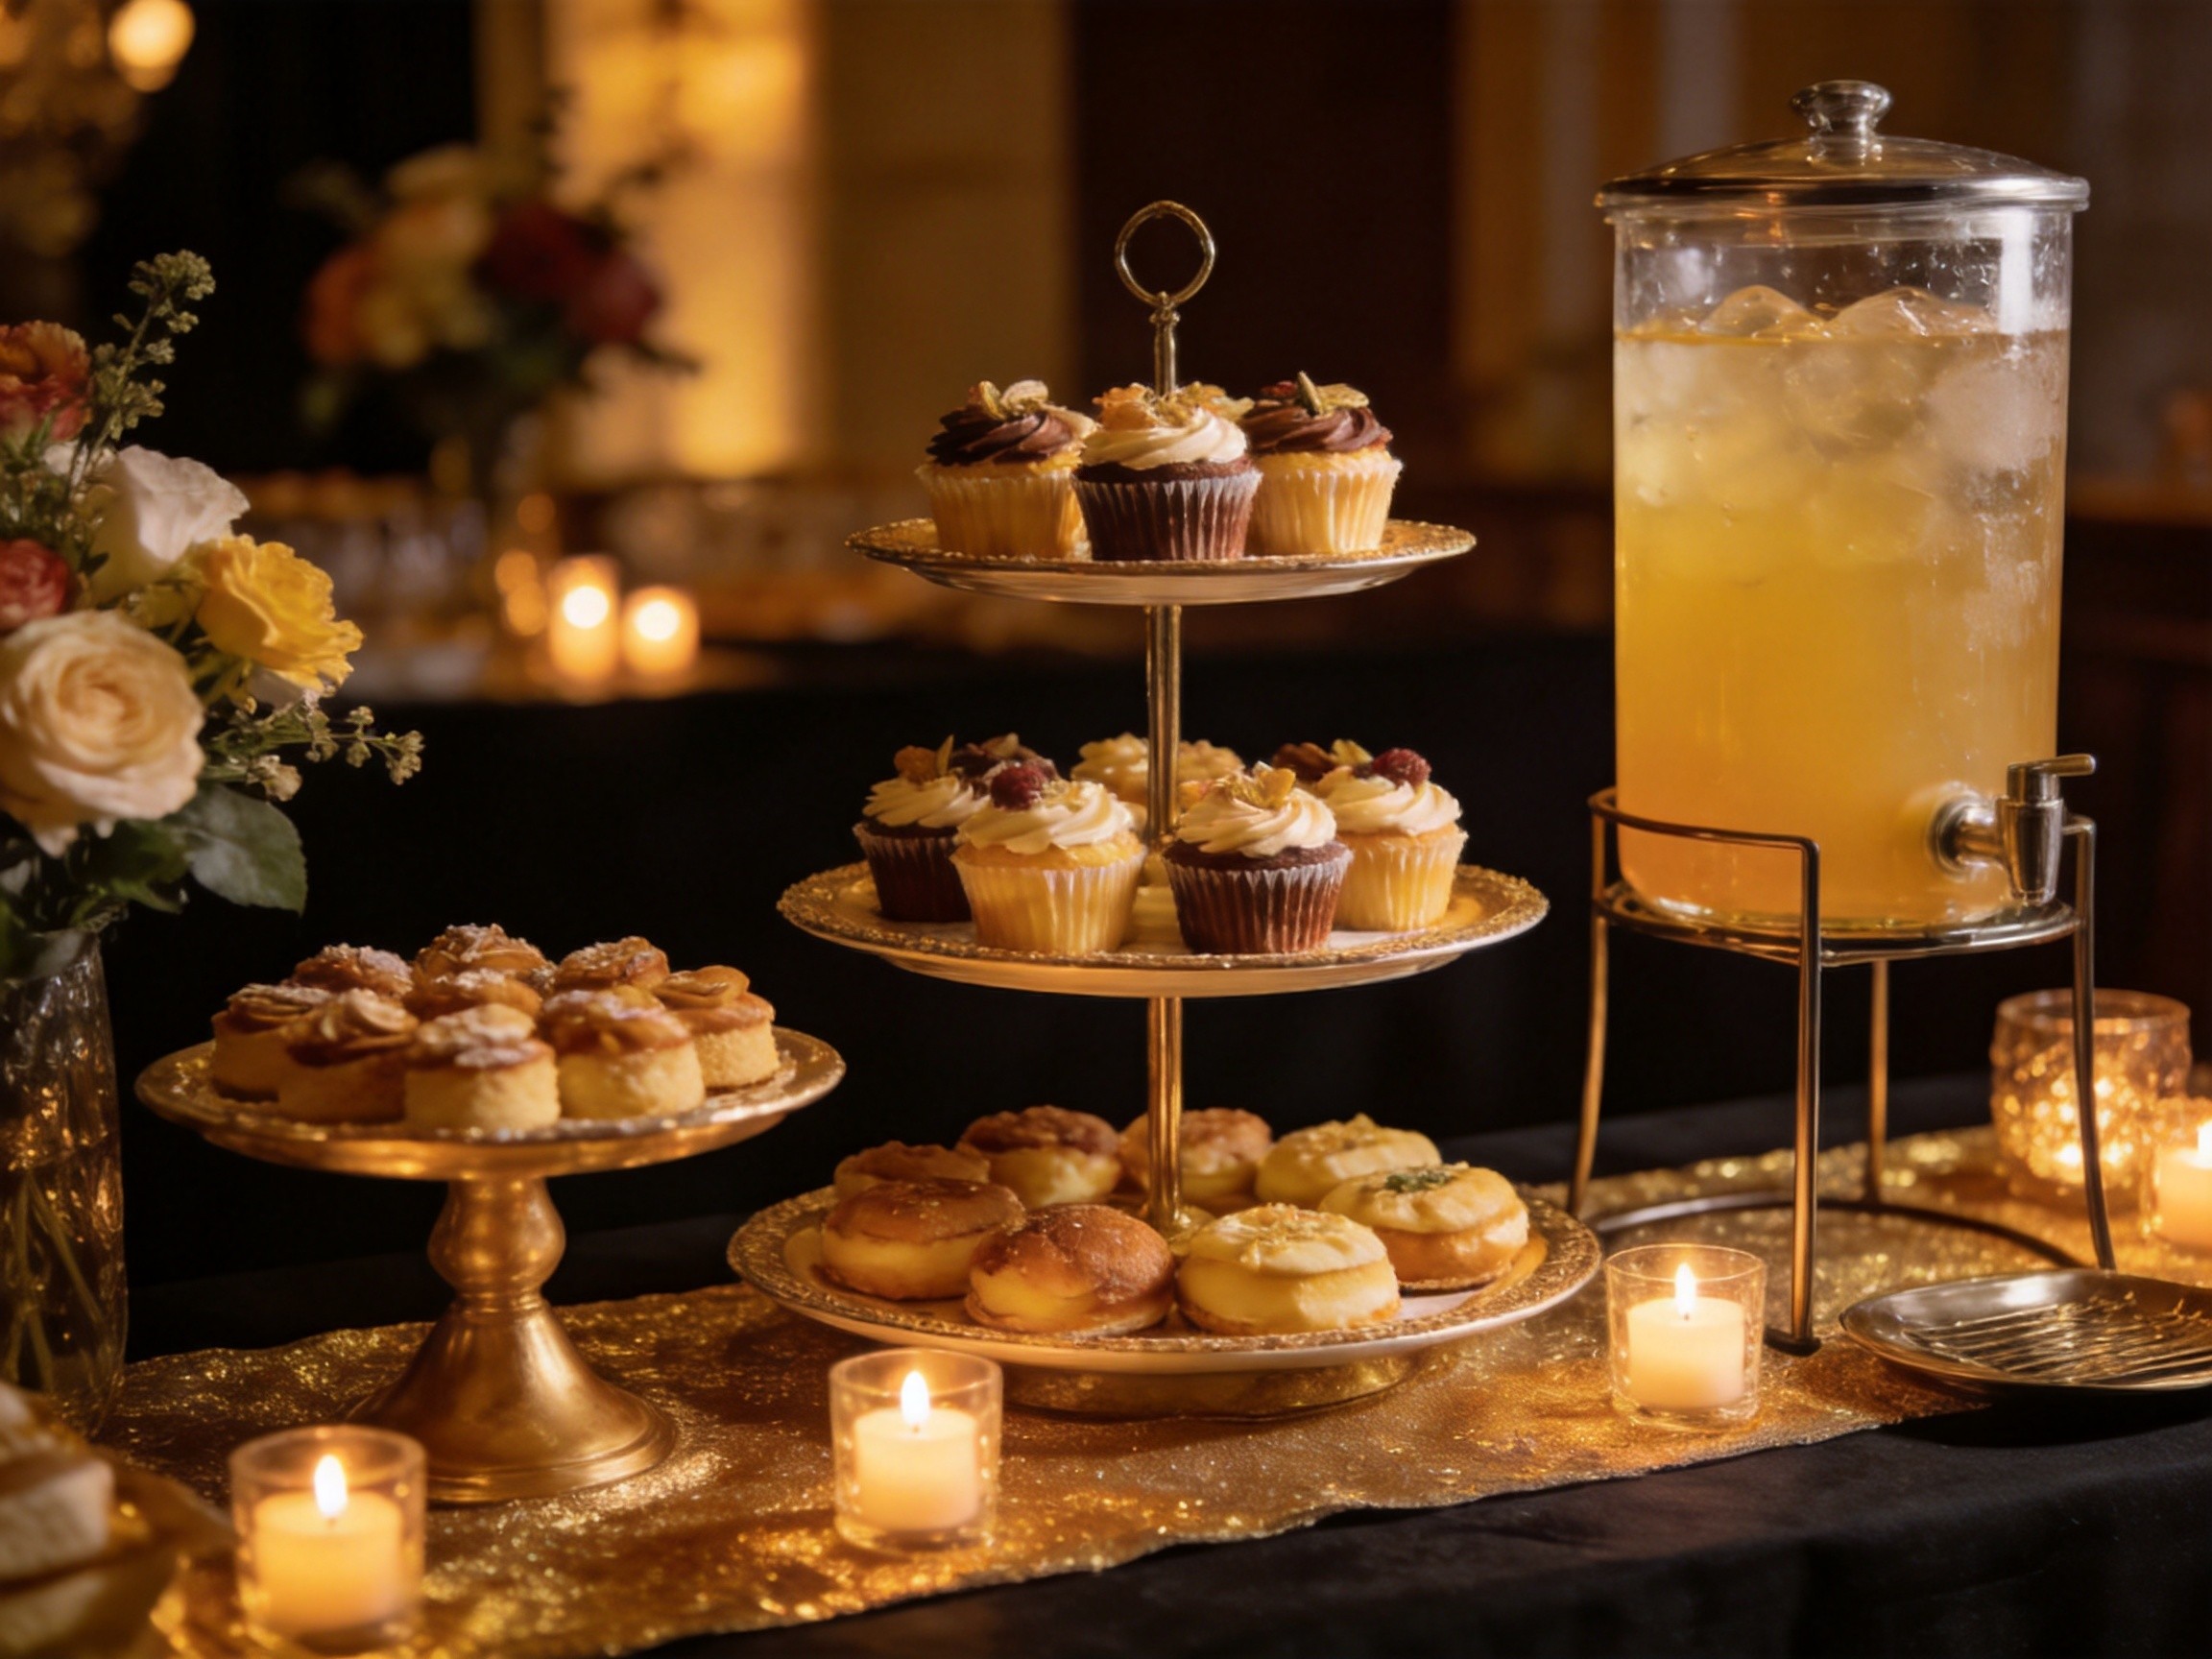
4. Dessert Station
The dessert station should be a visual showstopper — this is where tiered displays shine. Place it at the far end or on a separate table entirely.
- 3-Tier dessert stands create instant vertical drama — cupcakes, macarons, and petit fours look stunning on tiered towers
- Mix heights: tall stands, short plates, and flat trays together create depth
- Add decorative elements between food items — fresh flowers, greenery, or candles fill gaps
- Keep a separate set of small plates and dessert forks here
5. Bread & Appetizer Station
Start the buffet line with breads, rolls, and light appetizers. These are quick to serve and give guests something to nibble while they wait for the main course.
- Place bread baskets at the very beginning of the line
- Offer butter, dips, and spreads in small ramekins beside the bread
- Keep appetizers bite-sized — no cutting required
- Use display stands to elevate appetizer platters for visibility
The Science of Guest Flow
Poor guest flow is the #1 cause of buffet chaos. Here’s how to keep things moving:
Single-Line vs. Double-Sided Service
- Under 20 guests: Single line is fine — one table, one direction
- 20–50 guests: Set up both sides of the table for double access
- 50+ guests: Create multiple separate buffet stations around the room
Direction & Spacing
- Guests should flow left to right (most people are right-handed)
- Stack plates at the start of the line, utensils and napkins at the end
- Leave at least 3 feet of space between the buffet table and the wall for guests to walk behind others
- Position the most popular items in the middle, not at the start or end, to prevent pile-ups
⚠️ Common Mistake: Putting plates and utensils together at the start. Utensils and napkins should be at the end of the line — guests shouldn’t have to juggle silverware while serving themselves food.
Tiered Display Techniques
Height variation is the single most impactful thing you can do for your buffet’s visual appeal. Flat rows of food look institutional; tiered displays look like a celebration.
Creating Height Layers
- Low (table level): Large platters, chafing dishes, serving bowls
- Medium (4–8 inches elevated): Cake stands, small risers, overturned bowls under tablecloths
- High (12+ inches elevated): Tiered cupcake towers, tall beverage dispensers, vertical displays
The Triangle Method
Arrange each station in a triangle: the tallest item at the center back, medium items on the sides, and the shortest items in front. This creates natural visual depth and makes everything visible from the guest’s perspective.
💡 Budget Trick: No risers? Stack heavy books under a tablecloth to create instant elevation. Wrap boxes in matching fabric for a custom look.
Color Coordination & Visual Balance
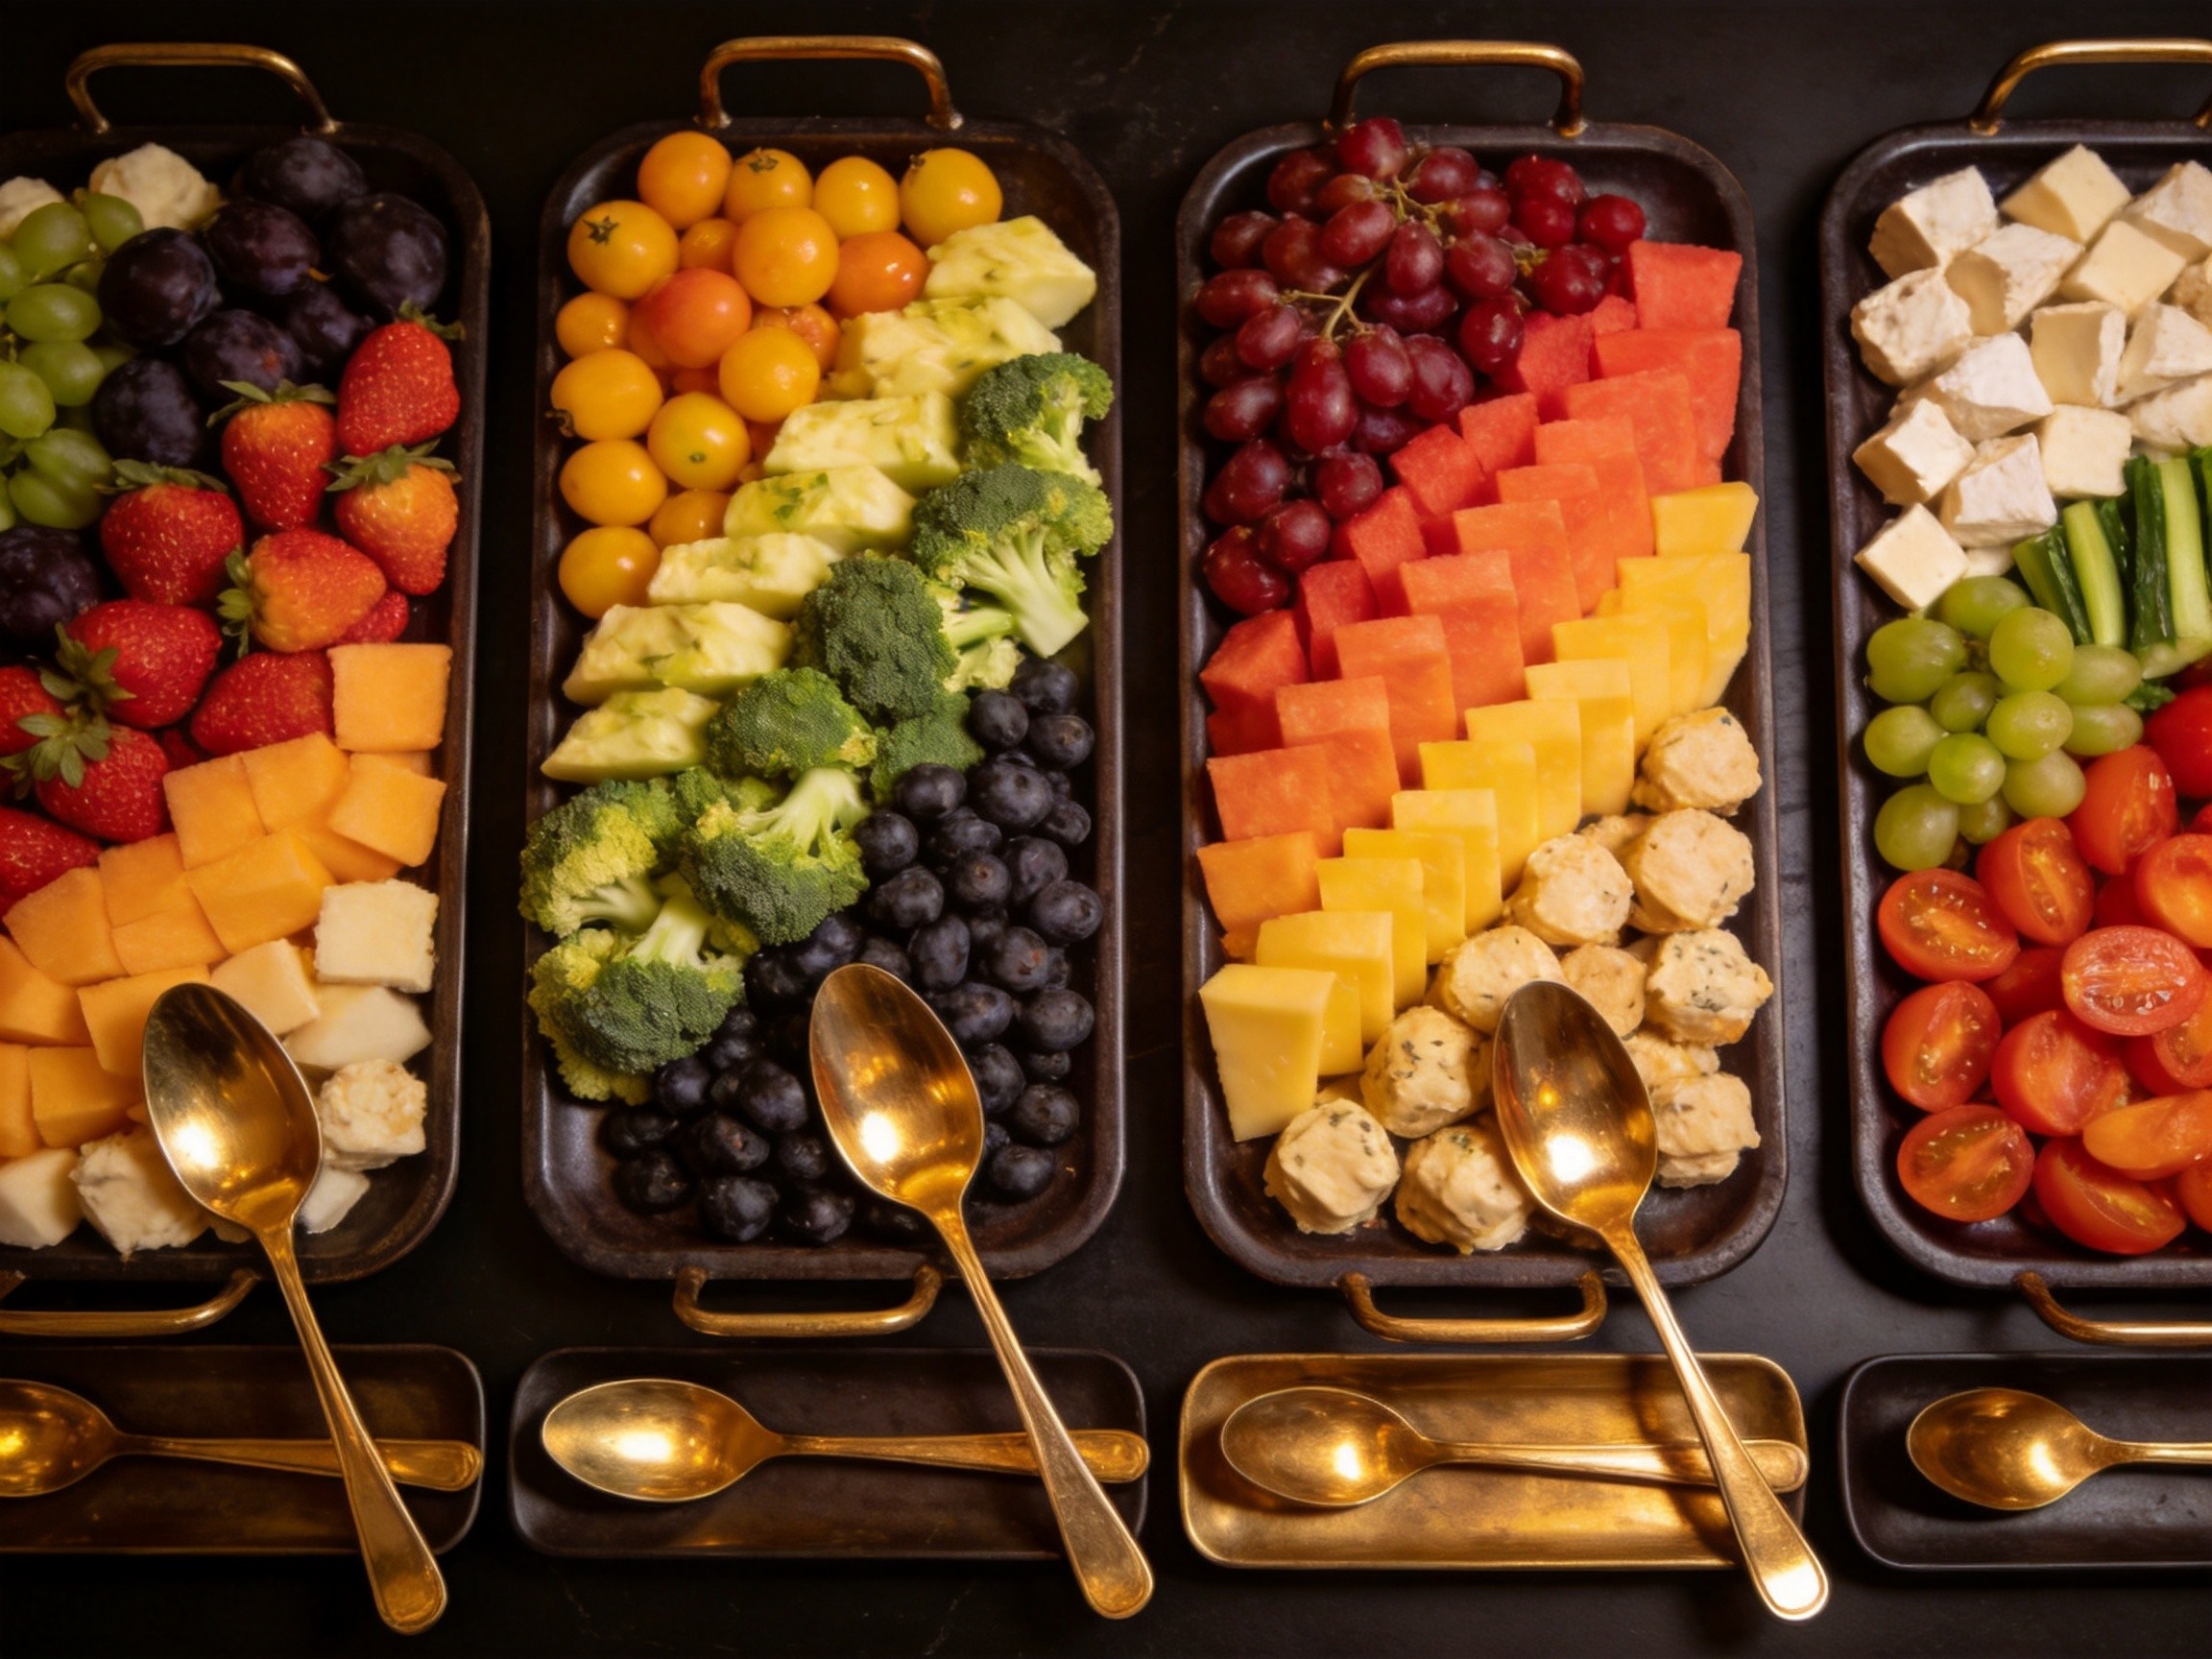
The Color Wheel Approach
- Warm foods (roasted meats, pasta) — place on gold or dark trays for richness
- Green vegetables & salads — use white or light-colored serving dishes for contrast
- Colorful desserts — neutral-colored stands let the food be the star
- Monochrome menus (all-beige buffet?) — add garnish: fresh herbs, edible flowers, citrus slices for pops of color
Symmetry vs. Asymmetry
- Formal events: Symmetrical layouts (matching items on both sides) feel classic and controlled
- Casual gatherings: Asymmetrical, organic arrangements feel warm and inviting
- Mixed approach: Symmetrical chafing dishes in the center, asymmetrical accent pieces on the ends — best of both worlds
Outdoor Buffet Considerations
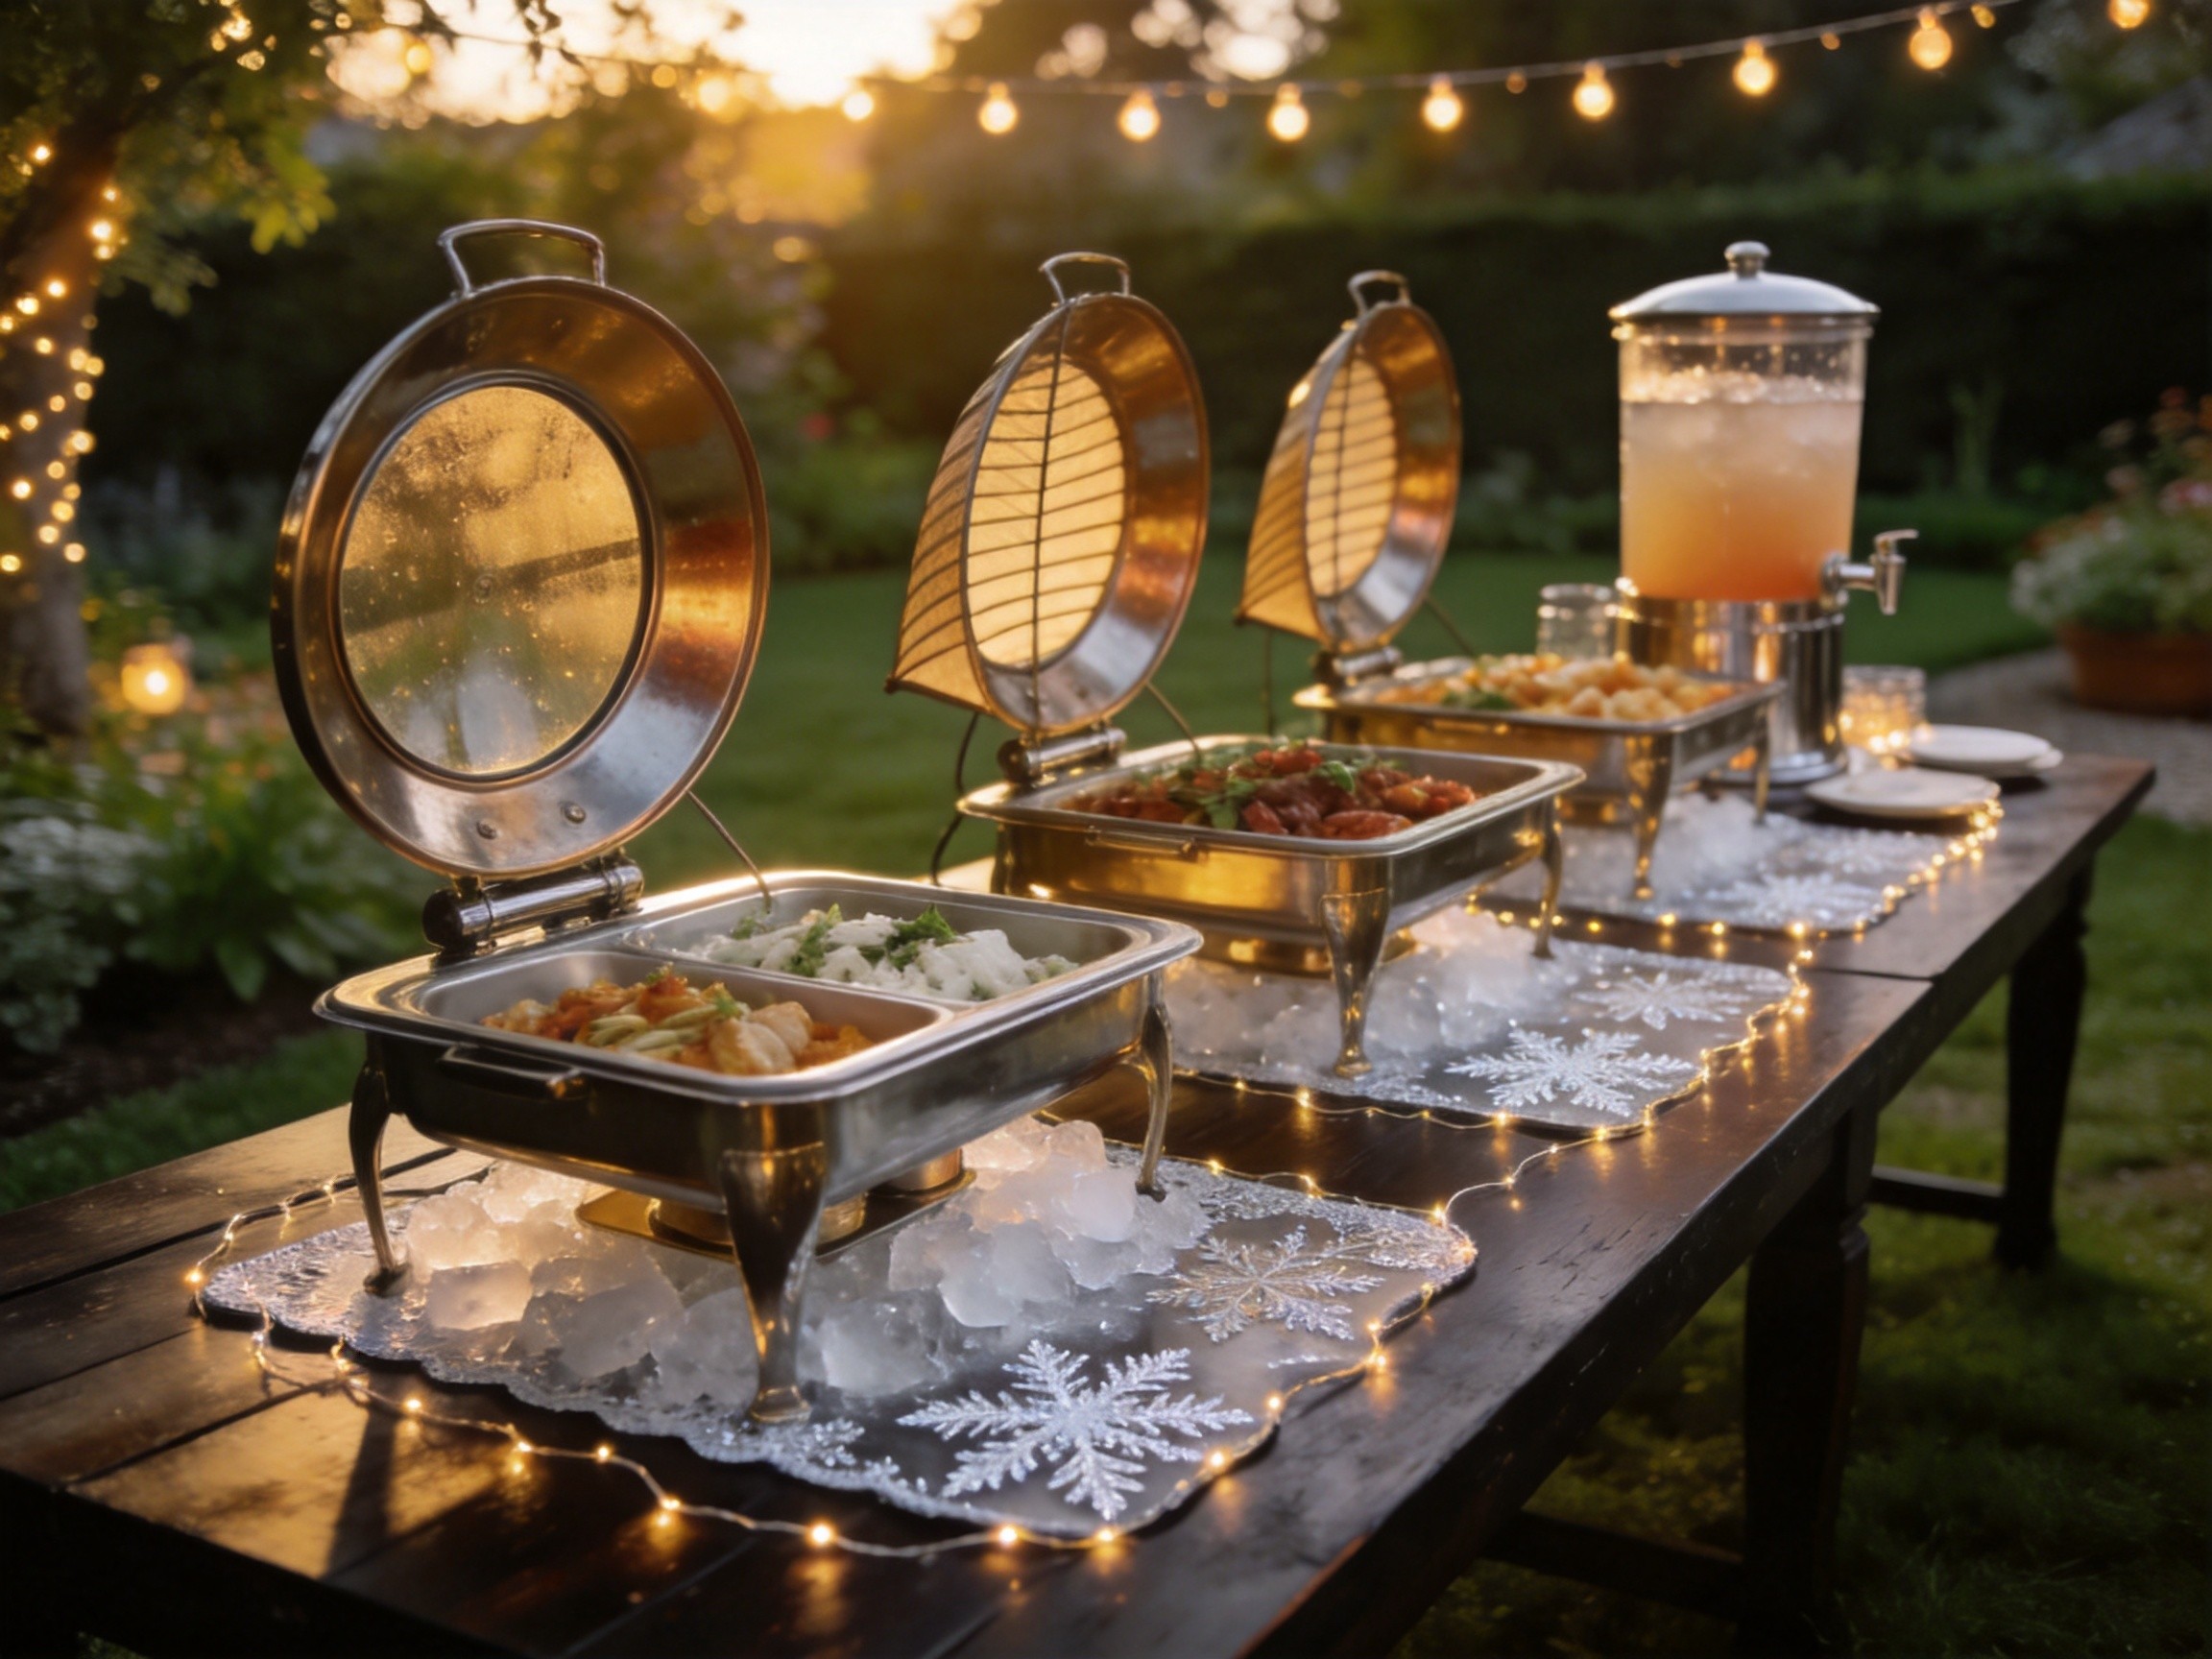
Outdoor buffets add beautiful ambiance but introduce three enemies: wind, temperature, and insects. Here’s how to handle each:
Wind Protection
- Use Wind Guards for Chafing Dishes — flame-retardant fabric covers that shield fuel flames from gusts while retaining heat
- Choose roll-top lids over dome lids for outdoor events — they’re less likely to catch wind
- Position the buffet table against a wall, hedge, or windbreak when possible
- Weight down tablecloths with clips or decorative stones
Temperature Management
- Hot food cools faster outdoors — increase fuel checks to every 30–45 minutes
- Use insulated catering carriers to transport and hold backup food at temperature
- For cold items, layer freezable cooling mats under serving trays
- On hot days (above 90°F / 32°C), food should not sit out for more than 1 hour
Insect & Contamination Defense
- Use chafing dish lids as protective covers between servings
- Mesh food tents over uncovered items
- Keep a spray bottle of water nearby to mist salad greens and prevent wilting
- Assign someone to monitor and replenish — outdoor buffets deplete faster than indoor ones
Quick Buffet Setup Checklist
- ☐ Table positioned with 3+ feet clearance on all sides
- ☐ Plates stacked at the start of the line
- ☐ Utensils and napkins at the end of the line
- ☐ Main course chafing dishes filled with pre-heated food
- ☐ Cold food station set up with cooling mats underneath
- ☐ Beverage station on a separate table
- ☐ Dessert station with tiered displays for vertical impact
- ☐ Serving utensils placed on the right side of each dish
- ☐ Height variation created using risers, stands, and tiered towers
- ☐ Color balance checked — no large monochrome zones
- ☐ Wind guards in place (if outdoors)
- ☐ Extra fuel, food pans, and serving utensils on standby
- ☐ Food thermometer available for temperature checks
Shop Our Buffet Essentials
Ready to build your perfect buffet? Here are our top picks for every station:
🔥 Main Course Station
- EffiQ-Rate 4-Pack Gold Round Chafing Dishes (5 QT) — Gold finish for formal events, includes serving utensils
- EffiQ-Rate 9 QT Chafing Dishes, 2-Pack Gold Set — Large capacity for bigger gatherings
- EffiQ-Rate 3 QT Glass Dishware Chafing Dish — Elegant glass food pan for intimate settings
🧊 Cold Food Station
- EffiQ-Rate 4-Pack Freezable Cooling Mats — Reusable, decorative, and keeps food cold for hours
🥤 Beverage Station
- EffiQ-Rate 3-Gallon Beverage Dispenser with Stand — Commercial-grade, includes mixing spoon and drip mat
🍰 Dessert Station
- EffiQ-Rate 3-Tier Cupcake Stand — Decorative Tower — Perfect for weddings and showers
- EffiQ-Rate 3-Tier Rectangular Acrylic Display — Modern transparent design for a contemporary look
- EffiQ-Rate 3-Tier Cupcake Tower (10″/12″/14″) — Graduated tiers for maximum visual impact
🌬️ Outdoor Essentials
- EffiQ-Rate 4-Pack Wind Guard (Gold) — Flame-retardant, keeps fuel burning steady
- EffiQ-Rate 4-Pack Wind Guard (Black) — Sleek black option for modern setups
- EffiQ-Rate 42QT Insulated Catering Carrier — Transport and hold food at temperature
This guide is for informational purposes. Always follow the manufacturer’s instructions included with your specific products.